Spring has sprung, the flowers are blooming and the peeps are hatching!
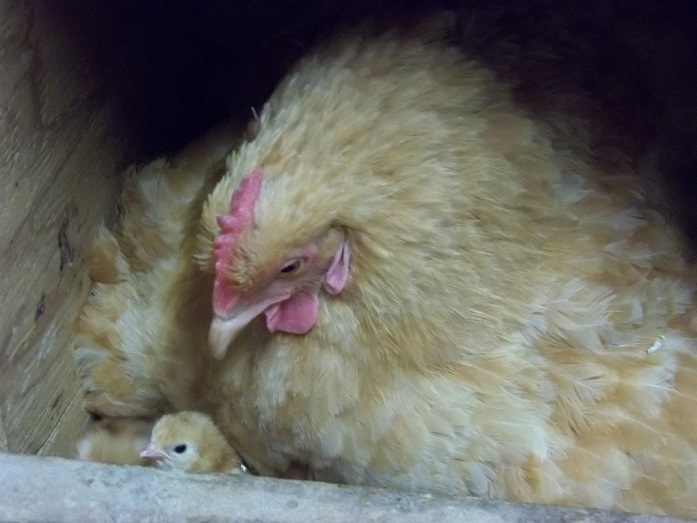
One of my favorite parts of breeding exhibition chickens is the hatching season. We love when our hens go broody because they are perfectly suited mamas and do all the work for us - keeping the eggs warm, turned and protected and once they hatch, they are fierce protectors and providers. I appreciate them all the more because when we use the incubator, we have to fill all those roles ourselves!
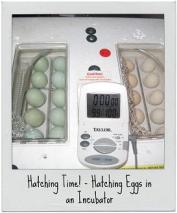
Our hatching operation is pretty small-scale at this point. We are currently using a Little Giant Egg Incubator with Circulated Air Fan with an Automatic Egg Turner. We have had between 60-70% hatch rate with our fertile eggs.
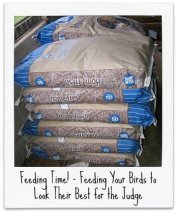
What makes for a successful hatch? The first requirement starts long before you put the eggs in the incubator. The eggs should come from healthy, nourished breeding pairs. A breeder ration contains all the necessary vitamins and minerals so there are no deficiencies passed to the chicks. We find it easiest at this point to use Blue Seal Breeder Pellets but I know every experienced breeder has their own "secret ingredients" that can give their birds an edge.
Next we need eggs! If you're starting early in the season, when the days are still short, some extra light in the coop will increase the egg production and give you more eggs to work with. We try to make sure the nest box material is clean so the eggs are clean. Dirty eggs become bacteria magnets when put into the warm, moist environment of an incubator and should be avoided at all costs so the other eggs have a clean environment and to avoid a possible egg explosion in the incubator - not something I've experienced but something I'd like to avoid at all costs!
Store your eggs that you plan to hatch in a cool, damp place, preferably around 50 degrees. We store ours on top of our chest freezer in our basement in egg cartons with the small end down. This is important so the yolk stays centered in preparation for the chick to start growing inside.
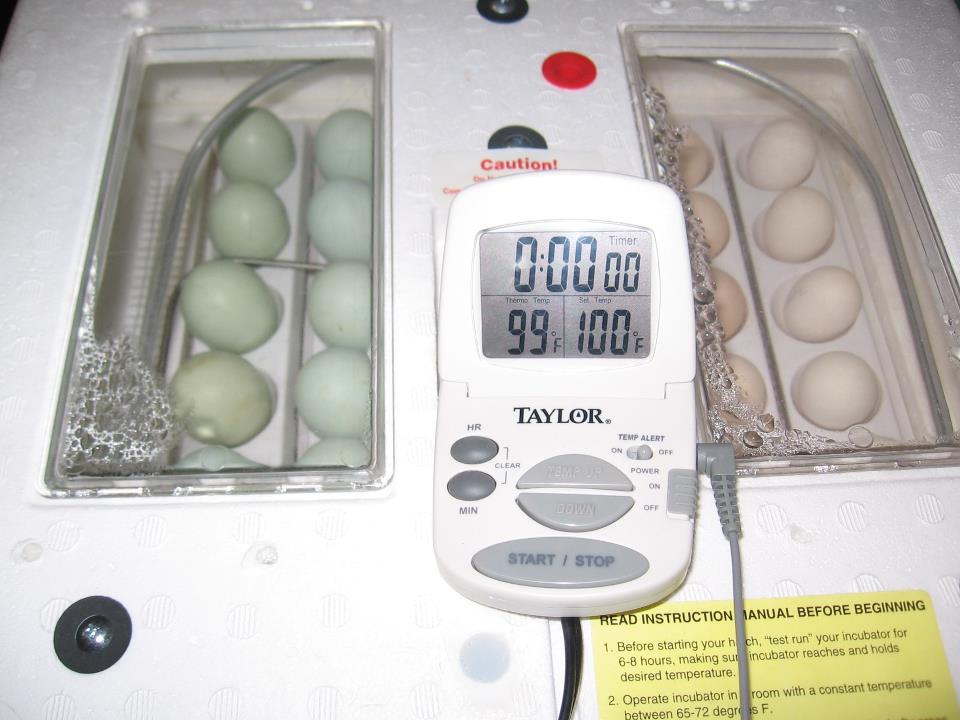
When you've collected all the eggs you want to hatch, turn on your incubator at least a few hours before you put in any eggs so you can get the temperature adjusted properly. We use a kitchen timer that has a temperature probe that gives us an easy-to-see temperature reading. The temperature needs to be consistently at 99.5 degrees. Sometimes it takes awhile for the temperature to become consistent so constant fiddling with the thermostat is not helpful. If the temperature is consistently low, bump it up a touch and walk away for a few hours or even a day and see what it reads the next day.
Once you're confident the temperature is right, you'll need some moisture as well. Based on some advice we've gotten, we only add water two times during the 21 day hatch. The first time is at the very beginning when we fill up the reservoirs as full as we can with warm water right before we add the eggs. The second time is right at lock-down, which we'll talk more about soon.
I love our egg turner. It saves us an enormous amount of time during the spring. We place our eggs, small end down, onto the egg turner, close up the lid and let the incubator sit (making only minor adjustments to the thermostat if absolutely necessary) for the next 18 days. How easy is that?
The only break in the "resting and growing" is when we take a peek on day 7 and 14 to see what we have growing inside. We're hoping to see a dark spot with blood vessels visible around the spot on day 7 and almost all dark with just the air pocket showing on day 14. Here's an illustration of what you don't want to see:

If the eggs are infertile or bad, remove them from the incubator.
3 days before our expected hatch, we go into "lock down". We remove the egg turner, fill up the reservoirs with water again, line the wire mesh with paper towels and carefully place all the eggs evenly spaced on the paper towel. From this point on, we wait and hope and pray for the "pipsqueaks" to appear. (Don't you just love all the chicken references in the English language?)
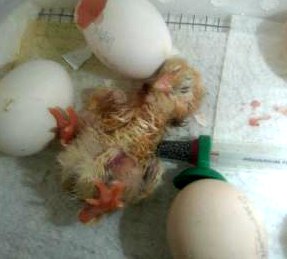
We
never seem to tire of watching peeps make their way into the world.
Our biggest challenge is waiting for them all to hatch and dry out so we
can snuggle the sweet little things. Sometimes our hatches have been
spread over several days, especially when we have hatched both bantams
and large fowl at the same time. We've learned to keep the incubator
running longer than we think necessary. We've even had one hatch after
we had turned off the incubator, gone to bed, and were cleaning out the
incubator the next day and heard a squeak and saw a moving beak at a
pip!
That reminds me, when should you help a chick out of its shell, if ever? All the books seem to say, "Don't do it! They'll never thrive, never recover and they'll die anyway." I beg to differ. I have a soft spot for rescuing stuck chicks. I always felt a bit guilty helping out a chick when it seemed "stuck" after several hours of trying but when I visited a farm of a very experienced breeder and saw him do that very thing as though he had done it a million times, I feel released to help the poor things. We have had all our help-outs survive and thrive but remember that it does usually takes several hours from pip to hatch so don't get antsy and jump in before help is really needed!
We try to minimize opening the incubator while hatching is happening. It not only affects the temperature but more importantly, it allows the humidity needed to keep the chicks from drying out to escape and chicks are more likely to get stuck in the egg.
Be sure to have your brooder all ready and warm for the peeps when hatching begins. Sad story of what not to do...don't put them in a small box with a infrared heat lamp over them while you prepare their brooder. They will overheat with no place to get away from the heat and will die quickly!
I'm sure you have your own techniques you have tried. Our good friend, Lisa Vaughn, over at The Fluffy Bottoms Farm blog has an excellent article detailing how she does it. This is a community...let's learn from each other! CLICK HERE to read Lisa's article.
Share your incubator experience...
Do you have tips that make for a successful hatch? What is your recommended brand of incubator? Please share with the rest of us!
What Other Fanciers Have Said
Click below to see contributions from other visitors to this page...
Helping out stuck chicks 
I've had plenty of experience helping out stuck chicks. The main concern is being patient and not helping them too soon. There are blood vessels that …
Styrofoam Incubator Cold Spots
I purchased an electronic digital thermometer to check the temp in my incubator and found considerable variation from spot to spot in my incubator, …
Use second incubator to dry new chicks Not rated yet
I have a second incubator without a fan or egg turner in it and heat it up on day seventeen. This way the little wet ones don't thrash around accidently …
Saving Stuck Chicks Not rated yet
I use an incubator and I have had chicks stuck in eggs because the sack around them dries out and gets stuck to them. I use a spray bottle of warm water …
DIY incubator Not rated yet
It is very easy to make an incubator out of a plastic cooler. Just use a small fan, 40 wt light bulb and a thermostat. Much better than the styrofoam …
Planters Pride Seed Starter Mat Not rated yet
Styrofoam desktop incubators have locations in them that are a little cooler than average in corners etc.,if the room temp is not at least 75 or so.This …


What can we help you find? Search the website:
Never stop learning! Check out these helpful pages:

Coccidiosis
Learn about Coccidiosis
Healthy Chicken Coops
What are the essentials in housing your poultry in chicken coops to keep them healthy and safe?
Recommended Products
There are many helpful products that we have found useful. Here are some of our favorites.


What's New Around Here?
-
IN - Gray Toulouse Ganders
 I'm selling 2 Gray Toulouse Ganders. They are both a year old as of April 1, 2024. They come from Jean Doerflein's line of Toulouse and are great show
 -
OR - Snowy & Dusky Runners
 I have a very limited number of hatching eggs and a current hatch in the incubator of snowy (white base, black ticking along back, blue/purple iridescent
 -
Wanted: American game bantam pairs or trios
Looking for American game bantam in pairs or trios. Really looking for red Pyle's, bb reds, or silver duck wings. I prefer show quality. Please email me

Return to the Home Page

Get your Supplies:
Get Your "Poultry 101" Degree: